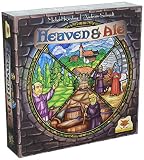
Your brewmaster figure must have reached at least the brown production spot numbered "1".
All of your resource markers must have reached at least the brown production spot numbered "1".
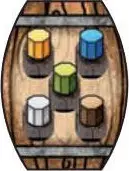
You must have placed at least 6 resource tiles with a fertility number of 1 on your player board.
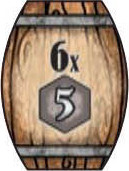
You must have placed at least 6 resource tiles with a fertility number of 5 on your player board.

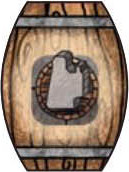
You must have a scoring disc on each of the 4 monk tile scoring spots.
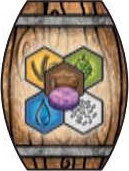
You must have a scoring disc on each of the 5 resource tile scoring spots.
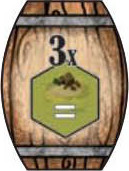
You must have placed at least 3 shed tiles of the same type on your player board.
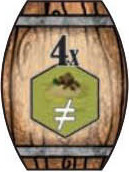
You must have placed at least 4 different shed types on your player board.
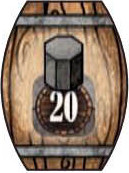
One or more of your resource markers must have reached at least the production spot numbered "20".
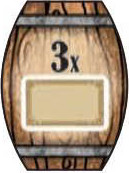
You must have placed at least 3 privilege cards next to completed privilege pairs.
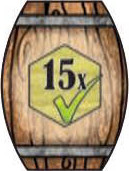
You must have placed a monk tile or a resource tile in each of the 15 sunny spots on your player board.
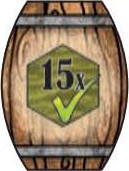
You must have placed a monk tile or a resource tile in each of the 15 shady spots on your player board.
Example Of How To Acquire Barrels

Peter moves his player figure to a barrel space. He has achieved 3 of the goals on the barrels in the centre of the main board: He may now take the following 2 large barrels and this small barrel as they are still available:

Continue Reading